


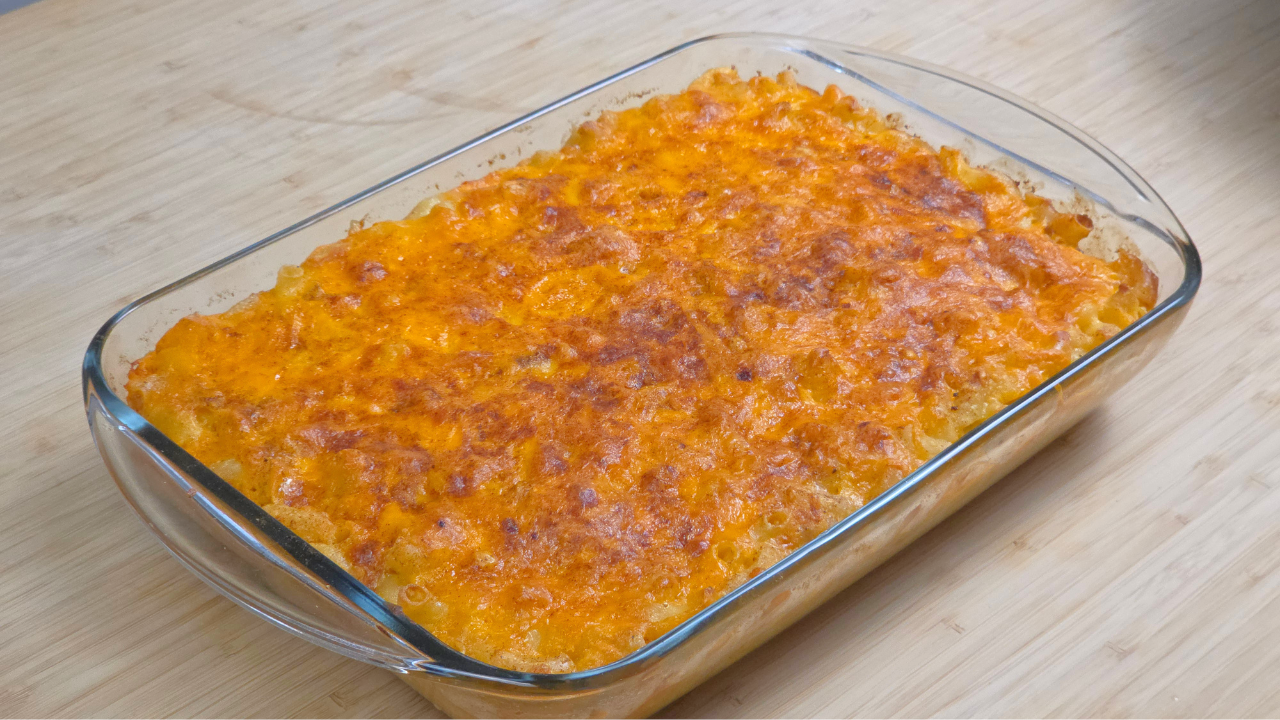
If there’s one thing that people don’t play about, it’s Baked Mac and Cheese. If you’re asked to bring this dish to a family gathering or work function, you better be on your A-Game or else people will talk about you. I’m no exception when it comes to not playing with baked mac and cheese. Nothing will ruin my day more than bad tasting Mac & Cheese with any entree I’m eating. So many people have put their own spin on this dish and there are so many different ways to make it. Of course, I had to put my own spin on baked mac and cheese myself, and I’m happy to share my recipe with everyone in this post!
Key Ingredients for Baked Mac and Cheese
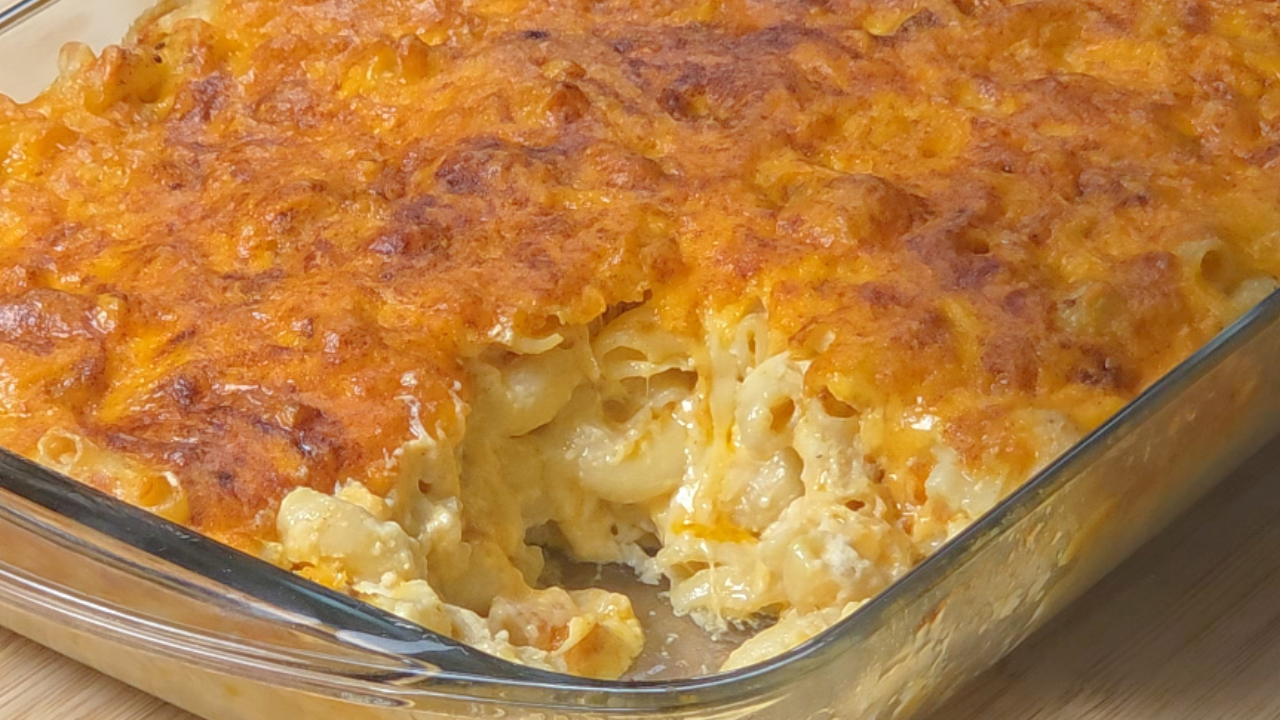
This recipe for Baked Mac and Cheese is made using some of your standard ingredients: Elbow Noodles, Cheddar Cheese, Black Pepper, and Table Salt. That said, what makes this recipe stand out from the rest is the use of Cream Cheese, Gouda Cheese and Ground Mustard.
- Cream Cheese: While it is a somewhat unusual ingredient, I would say don’t knock it until you give it a try! Believe it or not, ream cheese really enhances Baked Mac and Cheese in a couple different way. For starters, cream cheese is an emulsifying ingredient, as it contains stabilizer that prevent it from separating and help it to maintain its smooth consistency. By extension, when added to macaroni & cheese, it helps to bind the fats + liquids together and prevent them from separating as well. In addition, cream cheese is considered an acidic ingredient which helps to balance out the sharpness of the other ingredients in the mac and cheese such as the cheeses, butter and other fats.
- Ground Mustard: This is yet again a somewhat unusual ingredient, but similar to cream cheese above, it does serve a couple purposes in Baked Mac and Cheese. For one, ground mustard is also an emulsifying ingredient that helps to bind the fats + liquids further and keep them from separating. In addition, the ground mustard also acts as an enhancer as it really helps to deepen and intensify the flavor of the cheeses. Not to mention, just like with the cream cheese, Ground Mustard is also an acidic ingredient that gives the mac and cheese a subtle tangy undertone. Furthermore, the nice part about Ground Mustard is that when used in moderation, it doesn’t actually make the dish taste like Mustard.
- Gouda Cheese: I’ve tested a variety of different cheeses in this recipe. I think it goes without saying that Baked Mac and Cheese just isn’t baked mac and cheese if it doesn’t have cheddar cheese. That being said, in my humble opinion, cheddar cheese alone produces a mac and cheese that leaves a lot to be desired (for the lack of a better way to describe, it’s just kind of boring taste-wise). I decided to try adding Gouda Cheese to this recipe as a way to spice things up, and it is the perfect compliment the cheddar cheese. It imparts a subtle nutty, caramel-like, and slightly sweet undertone that really helps to balances out the saltiness of the cheddar cheese.
And that’s all there is to it! While Baked Mac & Cheese is typically served as a side dish, it is just as good by itself as a snack or even an entree for lunch/dinner. By the time you finish reading this post, you will also be a pro at making this dish yourself and you’ll have your family & friends begging to make these all the time!
Tips for Making this Recipe
Do not overbake. This is perhaps the most important tip of them all. Unfortunately, Baked Mac and Cheese is one of those dishes that’s not very forgiving if you cook it for even slightly longer than directed in this recipe. The reason why is because the longer the macaroni & cheese sits in the oven under high heat, the more moisture evaporates from the dish. As the moisture evaporates from the dish, the proteins in the cheese, which is what helps it bind to the noodles, will begin to separate. When this happens, you can end up with oily dish with dry noodles and curdled cheese. Sadly, when it’s happen, it’s difficult to fix and the dish will be ruined.
Prep and bake later. Baked Mac and Cheese is one of those dishes where you can combine all of the ingredients ahead of time and then just sit it in the refrigerator until you’re ready to bake it. I do this myself when I’m cooking my thanksgiving dinner, as I like to assemble many of the dishes the night before so that I can cook then immediately the day of Thanksgiving. It should be good in the refrigerator for up to 5 days, as long as it is sealed tightly with plastic wrap or is placed in an airtight container. The reason you want to do this is to prevent the dish from dying out as well as becoming contaminated.
Grate your cheese. This is a tip that I can’t recommend strongly enough. Now I do get it, we all have demanding lives and our time is extremely valuable, so it’s always great when we can find “hacks” that make cooking easier or faster. And it can be time consuming trying to shred our own cheese, which is why it might be tempting to use pre-shredded cheese you can buy from the store. The problem with pre-shredded cheese is that it’s coated on potato starch to prevent caking, and that will prevent it from melting effectively in the oven. Block cheese, meanwhile, don’t have the same coating on them, thus is much more efficient when it comes to melting.
Broil for even browning of crust. This is very much an additional step, and one that I don’t do all the time myself. But once the Baked Mac and Cheese is done, before removing it from the oven, set the oven broiler on high for about 1 to 2 minutes to ensure it has a pretty golden brown crust all over the top. You do have to be extremely careful with this step though, should you choose to do it. It’s very easy for the mac and cheese to burn up if you leave it under the broiler for longer than a couple minutes. I recommend standing by the oven and watching it closely until it reaches the desired color.
Frequently Asked Questions
Can I substitute the Gouda Cheese for Smoked Gouda Cheese?
Absolutely! The main difference that you’ll notice with the Baked Mac and Cheese dish is that the smoked gouda will impart a smoky undertone, which can be an especially nice compliment if you will be serving it alongside barbecue.
Can I substitute the Ground Mustard for Yellow Mustard?
This Baked Mac and Cheese recipe has not been tested with the use of yellow mustard, That being said, the issue with yellow mustard is that it contains added ingredients such as vinegar and sugar. These added ingredients can end up overpowering the other flavors in the mac and cheese. Ground mustard, conversely, tend to be more neutral tasting in comparison to yellow mustard. So for that reason, I don’t recommend doing so.
Should I rinse the noodles once they’re done cooking?
Absolutely not! There are some recipes and hacks you’ll find that advise you rinse the noodles to cool them off faster after boiling so that you don’t end up scalding the other ingredients you’ll combine with it. But I strongly recommend not doing so. This is because the noodles will have starch on them. The starch is not only what gives then their flavor, but the starch is also what helps the cheese to adhere to the noodles as they bake in the oven.
Can you freeze this Baked Mac and Cheese? And if so, for how long?
You certainly can! Once the Baked Mac and Cheese is done cooking, you should first allow it to cool down to room temperature. This will help to prevent the formation of ice crystals as it freezes. You should them ensure that it’s stored in an airtight container. Baked mac and cheese should remain its freshness in the freezer for up to 3 months. Then once you’re ready to eat it, just add a little bit of milk or cream as it may dry out some while frozen.
How long can you store this Baked Mac and Cheese without freezing?
As long as the Baked Mac and Cheese is stored in an airtight container or bowl, it should be safe to eat for at least 3 days. After 3 days, it may begin to lose its flavor & texture. Once 5 days have passed, I would advise that you dispose of the baked mac and cheese as it may no longer be edible.
Try These Other Sides
-
Best Homemade Baked Beans (NO Canned Beans)
-
Best Cornbread (Southern-Style)
-
Better Than Church’s Honey Butter Biscuits Recipe
-
Red Lobster Cheddar Bay Biscuits (Copycat)
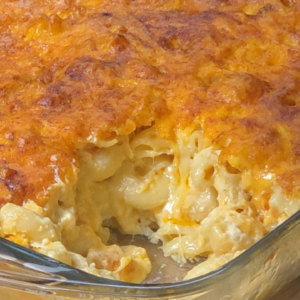
Best Baked Mac and Cheese
Equipment
- 1 8qt Mixing Bowl
- 1 9x13 Baking Dish (Pyrex recommended)
- 1 5qt Pot
- 1 Cooking Spoon for Stirring/Mixing
- 1 Hand Grater or Food Processor
- 1 Colander
- Measuring Cups/Spoons
Ingredients
- 4 Cups Large Elbow Macaroni
- 1/2 TBSP Iodized Salt (to pasta water)
- 8 Oz Shredded Sharp Cheddar
- 8 Oz Shredded Gouda Cheese
- 8 Oz Shredded Monterrey Jack Cheese
- 8 Oz Shredded Mild Cheddar Cheese
- 2 Cups Heavy Whipping Cream
- 1 Cup Evaporated Milk
- 1/2 Cup Melted Unsalted Butter
- 4 TBSP Softened Cream Cheese
- 2 Extra Large Eggs
- 1 1/4 TBSP Garlic Powder
- 1 1/4 TBSP Onion Powder
- 1 TSP Ground Mustard
- 1/2 TSP Ground Black Pepper
- 1/2 TSP Ground Paprika
- 1/2 TSP Iodized Salt
- Paprika for Garnish (optional)
Instructions
- Add 8 cups of water to 5qt pot and warm on high heat until boiling.
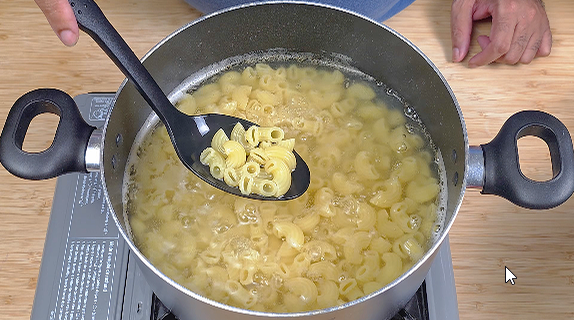
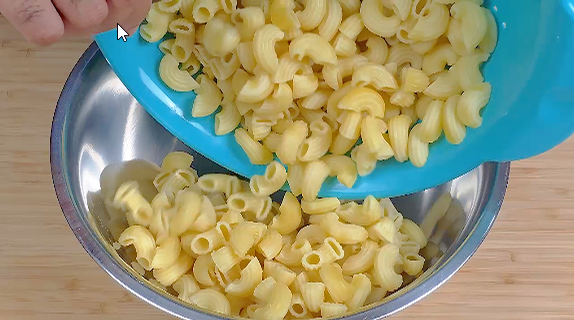
- Add 1/2 TBSP iodized salt to boiling water and add elbow macaroni noodles, boiling for approx. 7-9 minutes or until al dente.***
- While macaroni noodles are cooking, shred blocks of cheese using food processor or hand grater (if using pre-shredded cheese, skip this step).
- Remove macaroni noodles from heat and drain in colander, then immediately transfer to large mixing bowl while breaking up any clumps.
- Preheat Oven to 350*F
- Crack eggs into small bowl and lightly beat for 15 seconds.
- Add butter, evaporated milk,, cream cheese and heavy whipping cream one at a time and stir after adding each ingredient until well combined with the macaroni noodles.
- Add sharp cheddar, gouda and monterey jack cheeses to bowl with macaroni noodles and stir after adding each cheese until well blended with the macaroni noodles.
- Add beaten eggs to bowl with macaroni & cheese and mix until well combined.
- Add herbs/spices to bowl with the mac & cheese then mix until well blended.
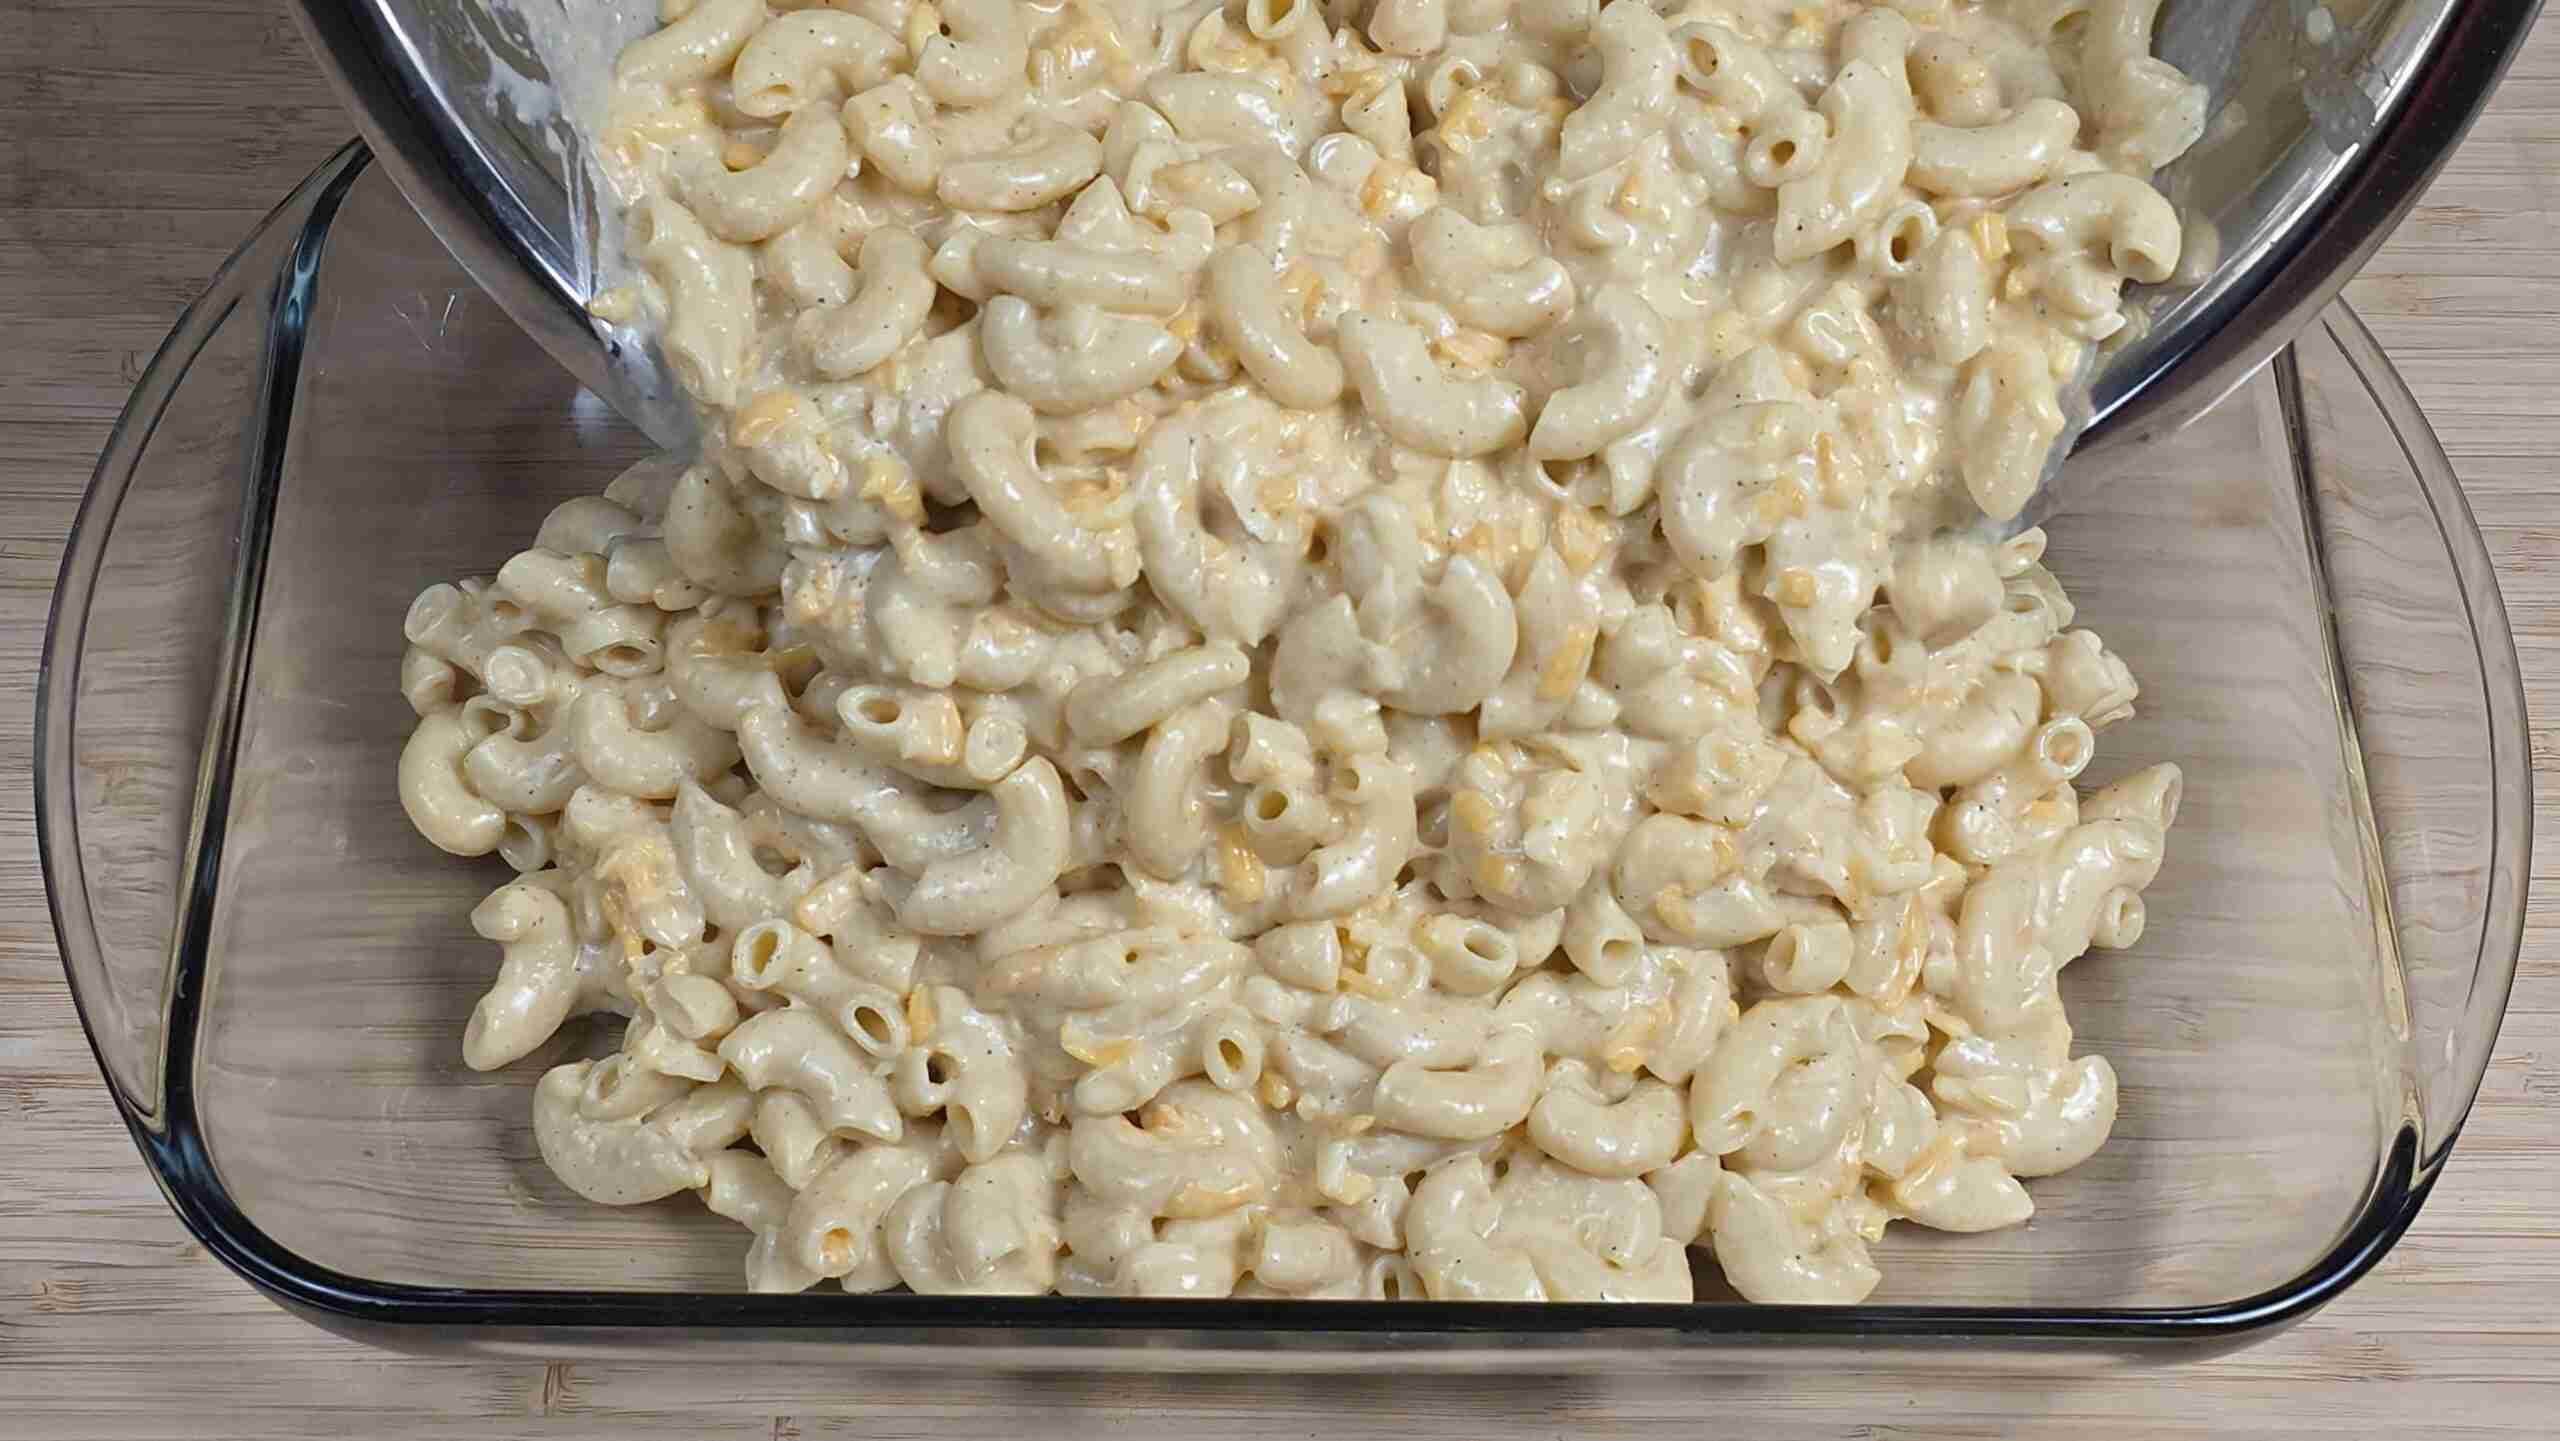
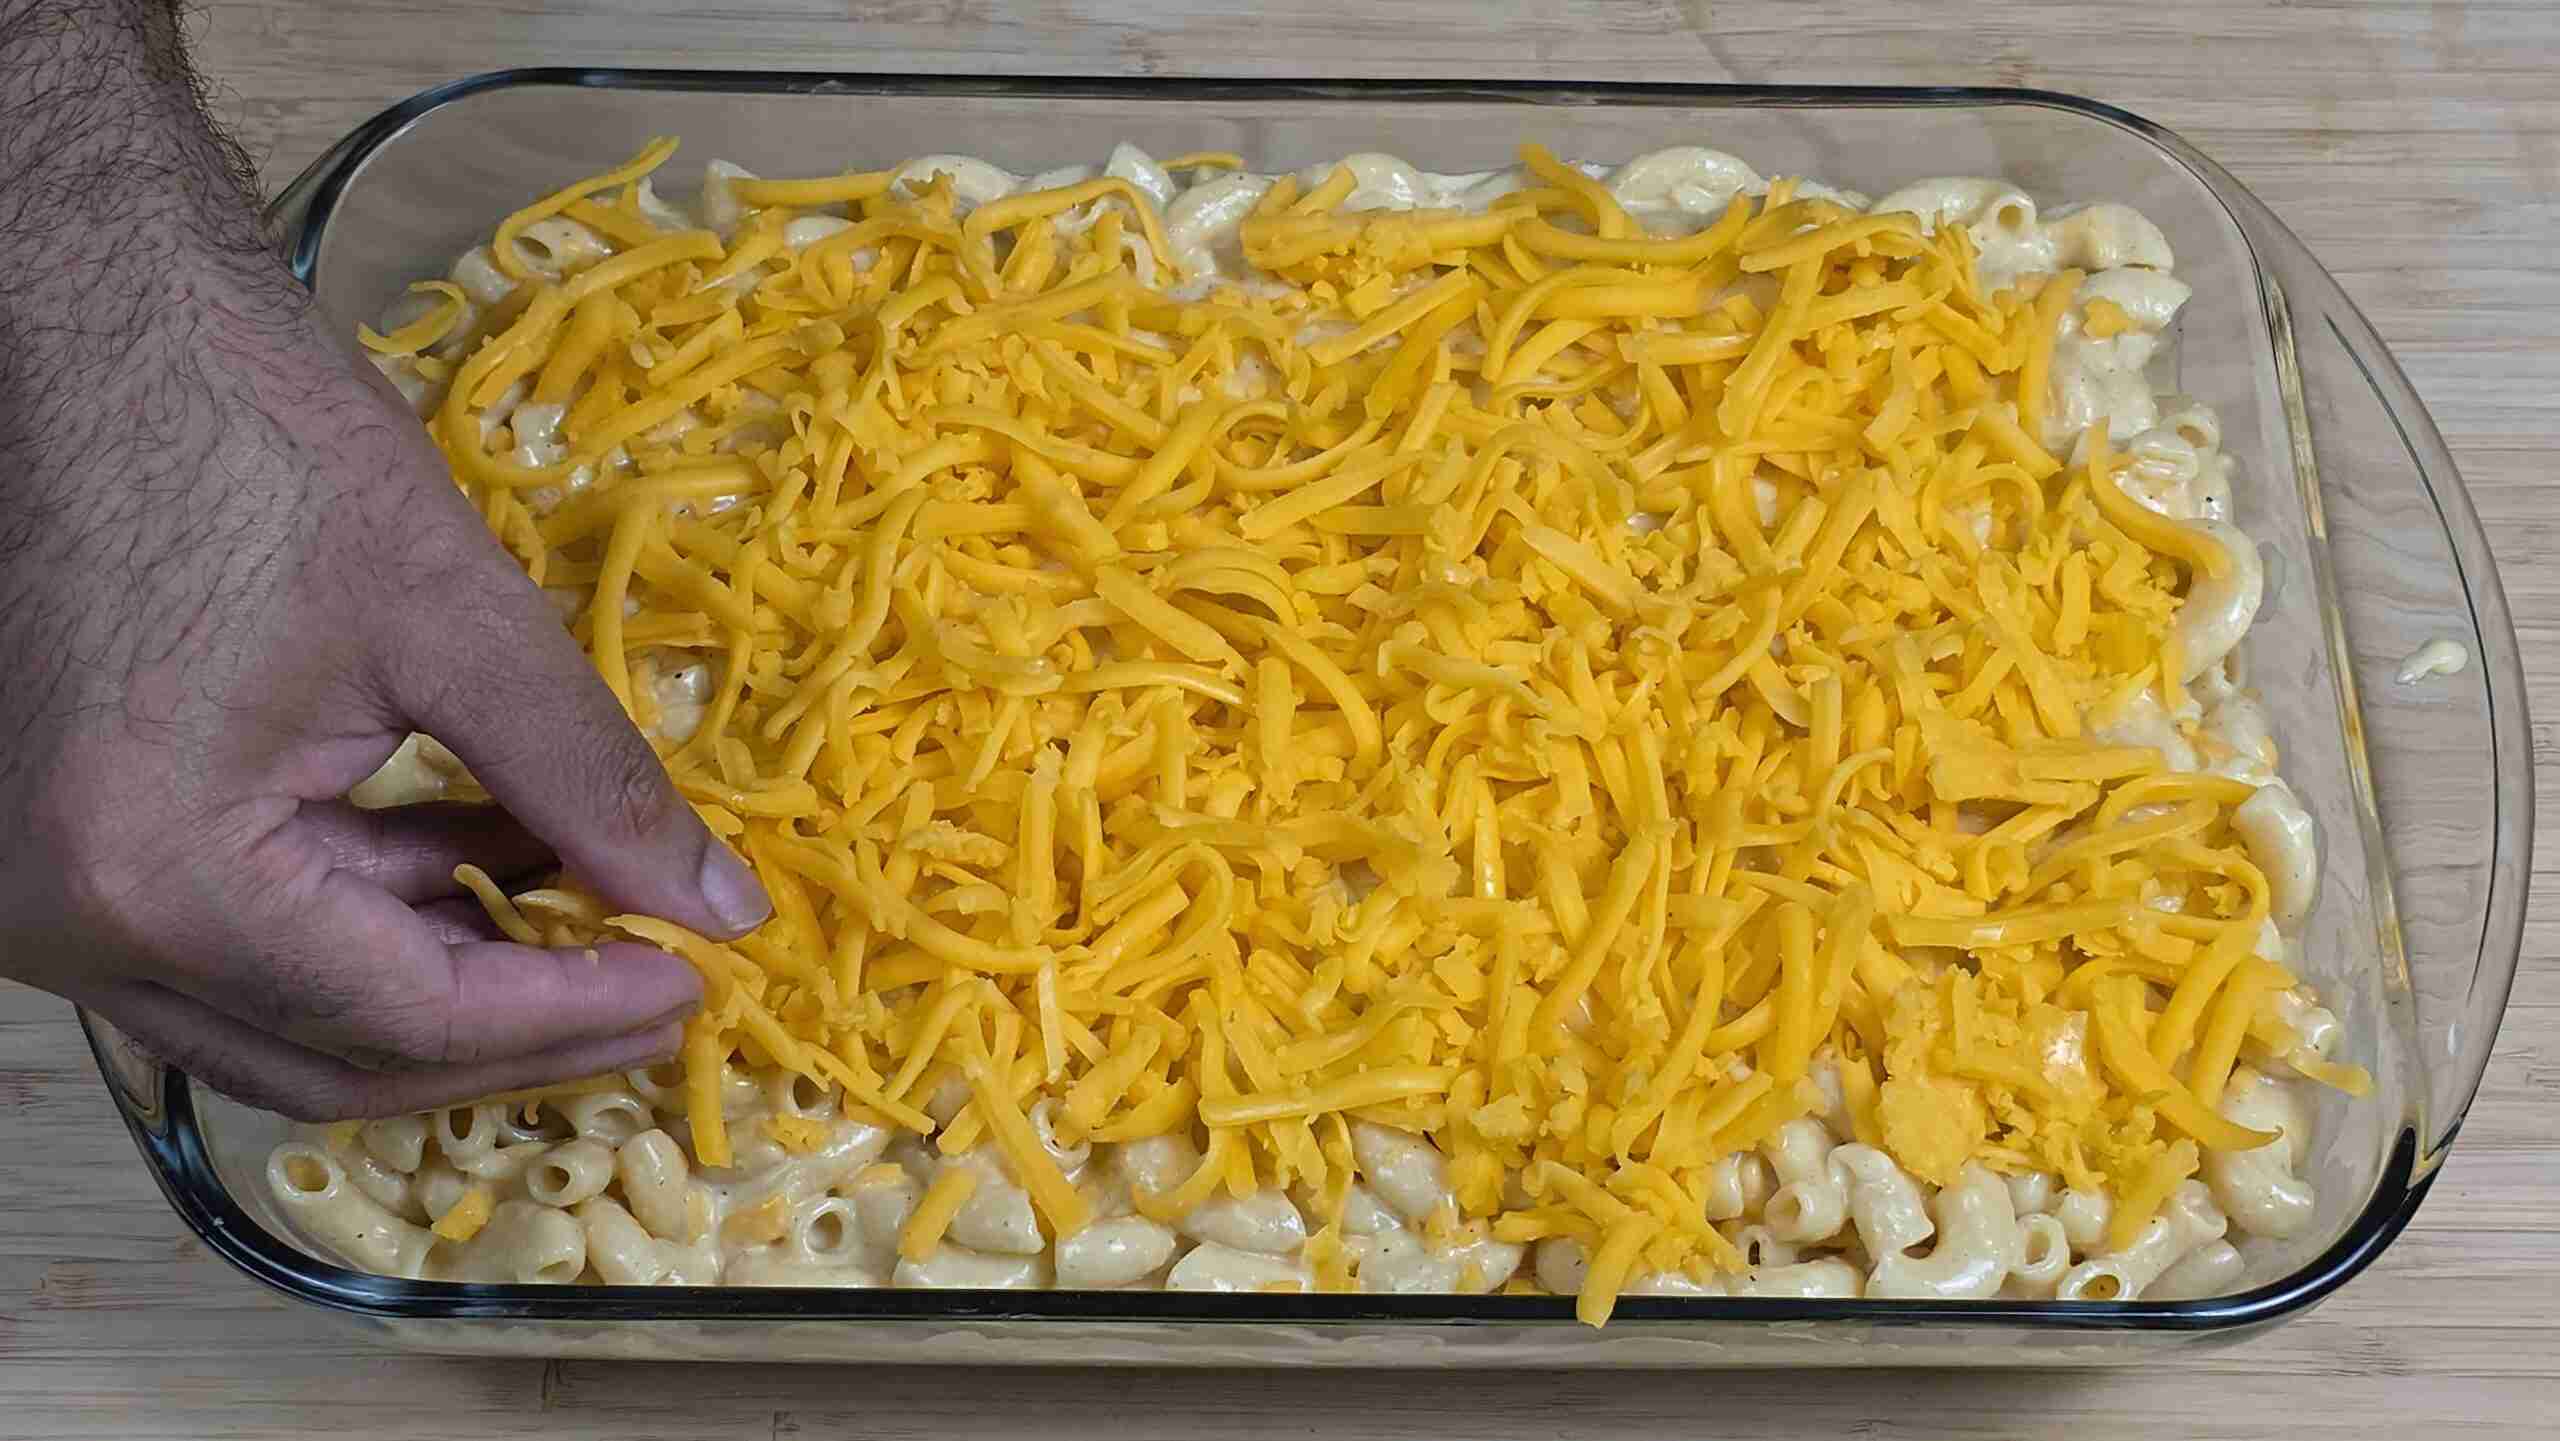
- Pour mac and cheese into baking dish and top with mild cheddar cheese until fully covered.
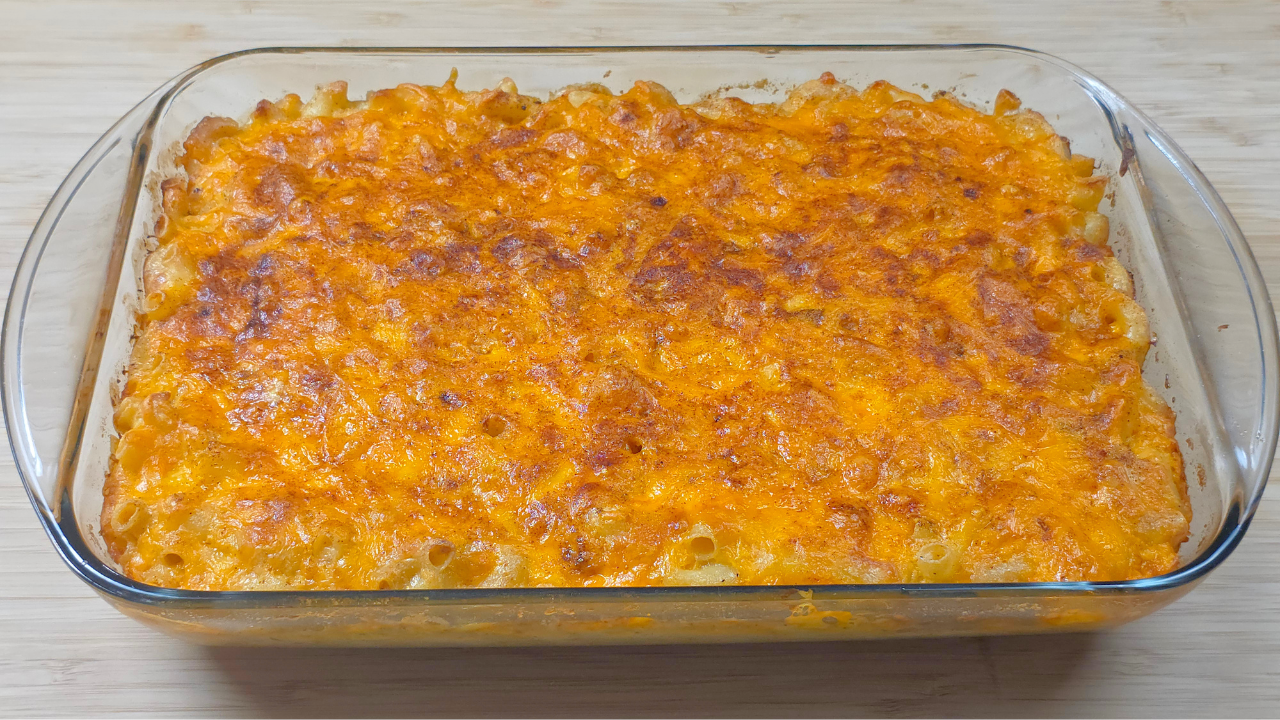
- Bake in oven uncovered for 35-40 minutes***
- Remove from oven and allow to cool 10-15 minutes before serving