



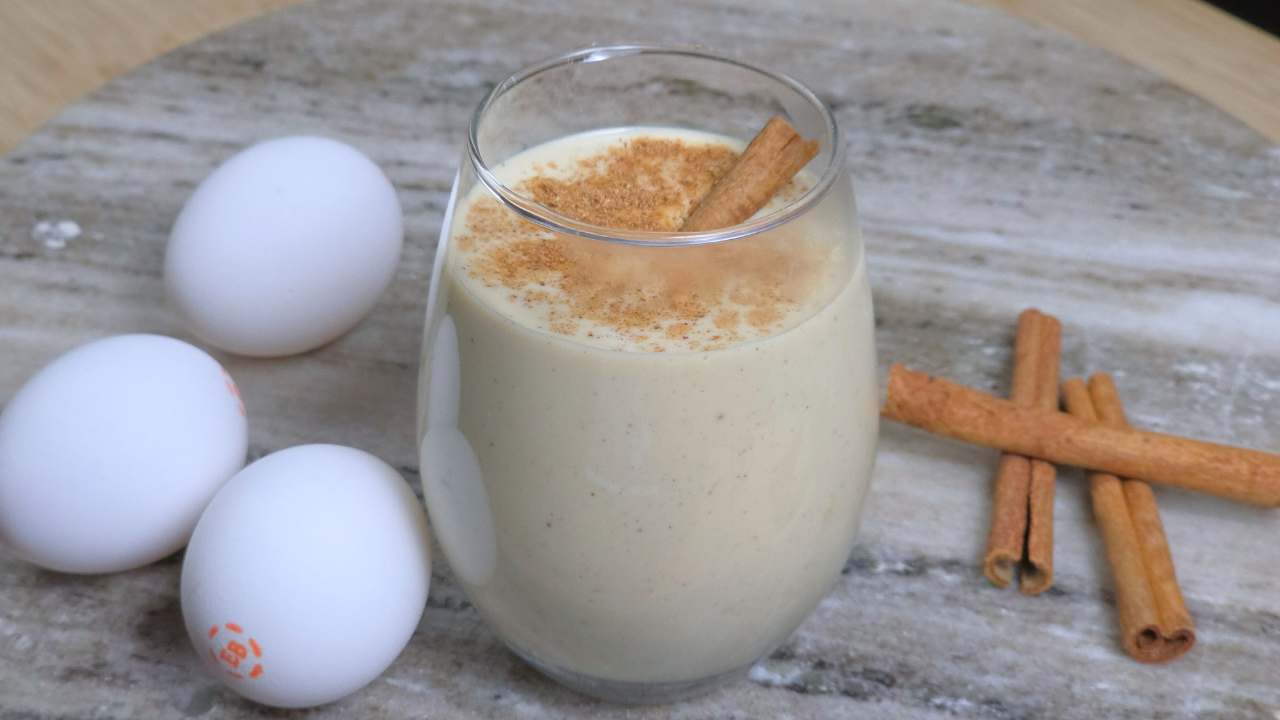
The chances are, if you are clicking onto this page right now, Christmas time and New Years Day are both near! What it also means is that it’s time to enjoy lots and lots of Eggnog! Well, technically, Eggnog can be enjoyed any time during the year, but it’s one of those items that are extremely difficult to find in grocery stores outside of the period just before and after Christmas. Fortunately, this post will help to fix that issue. While store-bought eggnog isn’t bad, nothing will ever beat the taste of fresh eggnog made entirely from scratch. With this recipe I’m going to share, you’ll be able to make this drink in the comfort of your own home.
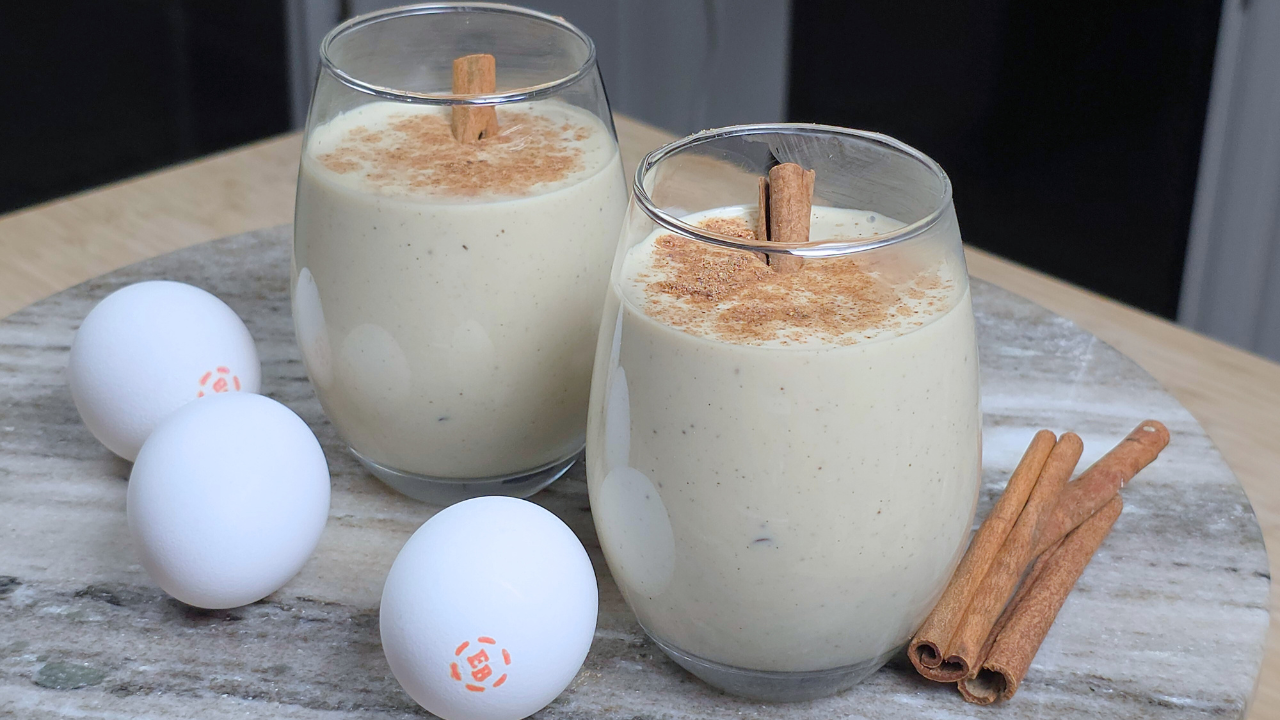
Key Ingredients for Homemade Eggng
Eggnog from scratch is made with your standard ingredients: Egg Yolks, Sugar and Spices. That said, what makes this recipe stand out from the rest is the following.
- Half & Half vs Whole Milk vs. Heavy Whipping Cream: Most eggnog recipes call for using either 2 parts heavy whipping cream and 1 part whole milk, or 2 parts whole milk and 1 part heavy whipping cream. The reason why is because milk tends to contain more water and less fat, which will give way to a thinner eggnog by only using it. Meanwhile, heavy whipping cream contains less water and more fat, which tends to make for a really thick & rich eggnog. After extensive testing of this recipe, I found that you get the right balance of creaminess without overwhelming richness by using 2 parts Half-and-Half and 1 part split between Whole Milk and Heavy Whipping Cream.
- Iodized Salt: If you’ve seen and tried enough of my recipes, you’ll notice that they all specifically call for the use of Iodized Salt. Iodized salt is what we also know best as table salt, thus it is easily accessible & available compared to Kosher or Sea Salt (which is what most other recipes will call for). Iodized salt also contains Iodine, and scientific studies have shown that a lot of us are deficient of this mineral (despite it being critical for our bodies to grow/develop/function normally). But that’s enough with the science lesson! The salt really helps to balance out the richness of the eggnog, giving it a more complex profile and preventing it from tasting flat.
- Vanilla Bean Paste: You’ll find most recipes call for the use of Vanilla Extract, in part because it is relatively more accessible and cheaper. That being said, when it comes to Eggnog, nothing beats using Vanilla Bean Paste, for a number of different reasons. One reason of course is aesthetics, as vanilla bean paste contains whole vanilla beans (which helps to make the eggnog look pretty). Also, the vanilla flavoring in the vanilla bean paste is much more potent than what you get with vanilla extract. But more importantly, the reason I prefer to use vanilla bean paste is because it contains less moisture than vanilla extract, which I find is critical to help ensure the eggnog stays good & thick.
And lastly, it is true that you don’t have to micromanage cooked eggnog to nearly the same extent as a custard, since you don’t have to worry about flour or cornstarch clumping & scorching. However, that doesn’t mean you can leave it alone while it cooks either. If it’s left unattended, you may end up with scramled eggs and ingredients that aren’t well-combined or fully dissolved. That’s why I do recommend that you constantly but gently stir the eggnog (although a brisk stir is not required) from the time you start heating it until the time it’s done, as this helps to ensure it remains smooth, silky and creamy.
Tips for Making this Recipe
Use freshly ground spices. This is not a requirement, and it may not necessarily be convenient. But if you really wanted one way to elevate this recipe, this will be it. Now don’t get me wrong, pre-ground spices that you can buy off the shelf at the grocery store are perfectly fine. However, what’s great about freshly ground spices is that the spices tend to contain compounds that go away quite quickly once you grind them, which can cause them to lose their taste much more quickly if pre-grounded. Thus, by using freshly ground spices, the aroma and taste when you add them to the eggnog will be much more intense, thus further enhancing its overall flavor profile.
Garnish just before serving. This is not required, and my recipe doesn’t officially call for it. It won’t really affect how the Eggnog comes out either. That said, I understand some folks are big on aesthetics when they’re trying to impress others they’re looking for and a big on making their food look pretty. If you’re feeling really fancy and want to show off in from of your family, friends, coworkers or even house guests, one thing you can do to give your eggnog a nice finishing touch when it’s ready to serve is by placing some cinnamon sticks into the cup or glass. In addition, you can also try sprinkling a bit of nutmeg on top of the eggnog.
Use a sieve to strain the eggnog. While this is very much an optional step, and it’s one that I often skip, I strongly recommend (especially if you’re a beginner cook and have never made eggnog from scratch before) straining your pudding through a sieve into a separate bowl before chilling and serving it. This will be an additional safeguard to ensure you don’t have any egg scrambles in your final product. Personally, I do find this step to be a bit frustrating. The reason why is not because it’s hard or takes up too much additional time. Rather, it means that I’ll have another dish to wash, and clean up is the least fun part of cooking (*sigh*).
Use cage-free eggs. Now this may be dependent upon distributors of eggs, but in my part of the US, I’ve had a terrible time with using caged eggs. My intention isn’t to go on a political soapbox about how the chickens themselves are treated (that discussion can be had on a different platform), but the quality of the eggs they lay is so poor. The so-called yellow yolks will often have more of a greyish hue, and this translates into the presentation of the food when it’s done cooking (it looks all drab & dreary). This is in large part why I recommed using eggs for the Eggnog that were, at the very least, laid by cage-free chickens.
Frequently Asked Questions
What about using free range or pasture raised eggs?
That’s even better for Eggnog, especially if you have easy access to pasture-raised eggs (those of us who live in big cities do not). The reason I personally don’t buy and use free range eggs (and why I officially included them from my ingredient list) is because they are considerably more expensive, albeit for very good reason because the quality is so much superior. Ultimately though, cage-free eggs are the safe middle ground both price and quality-wise. You really just want to avoid eggs from chickens that are stressed the heck out from their living conditions, because they are more likely to produce eggs that aren’t all that pretty-looking or good tasting when you cook them.
How do white and brown eggs differ?
The only difference between white and brown eggs is literally their color. One is produced by brown hens and the other is produced by white hens. You won’t notice any other difference in the Eggnog as far as flavor or texture. That being said, brown eggs tend to be a bit more expensive, only because there aren’t as many brown hens.
Can this Eggnog be enjoyed warm?
Eggnog is typically enjoyed cold, but this recipe is certainly safe to enjoy warm is desired! Just be sure to not let it sit out at room temperature for longer than 2 hours.
Can you freeze this Eggnog? And if so, for how long?
You certainly can! Just be aware, there is the possibility that the ingredients could separate somewhat. To fix this, you should just stir them (or shake) together until they’re well-combined again. Eggnog should maintain its freshness in the freezer for up to 6 months. Then once you’re ready to eat it, slowly thaw it out in the refrigerator overnight before attempting to consume it. Just be sure to place it in an airtight container and leave a bit of space to account for expansion as the liquid freezes.
How long can you store this Eggnog without freezing?
As long as the Eggnog is stored in an airtight container or bowl, it should be safe to drink for at least 2 days. After 2 days, it may begin to lose its flavor & texture. Once 4 days have passed, I would advise that you dispose of the Eggnog as it may no longer be safe to eat. Do know, if you opt to add alcohol to the Eggnog, depending on how much, that could extend its shelf life for as long as several weeks.
Try These Dessert Recipes
-
Easy Banana Pudding Recipe
-
Best Banana Pudding From Scratch
-
Best Sweet Potato Pie
-
Best Pumpkin Pie Recipe

Best Eggnog Recipe
Equipment
- 1 Whisk
- 1 3qt Saucepan
- Measuring Cups/Spoons
- 1 Large Bowl or Mason Jar
- 1 Sieve (optional)
- 1 Egg Seperator (optional)
- Aluminum Foil or Plastic Wrap
Ingredients
- 6 Extra Large Egg Yolks
- 1/2 Cup White Granulated Sugar
- 1/8 TSP Ground Cinnamon
- 1/8 TSP Ground Nutmeg
- 1/8 TSP Ground Cloves
- 1/8 TSP Iodized Salt
- 2 Cups Half & Half
- 1/2 Cup Heavy Whipping Cream
- 1/2 Cup Whole Milk
- 1 TSP Vanilla Bean Paste
- 1/4 Cup Rum / Whiskey / Brandy (optional)
Instructions
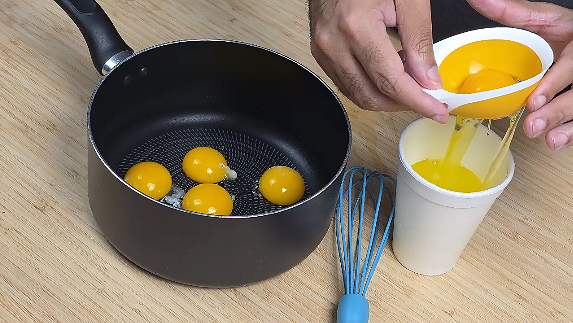
- Separate egg yolks from egg whites
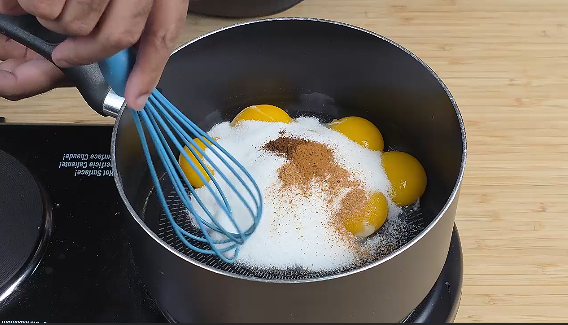
- Add egg yolks, sugar, spices, milk, half-and-half and heavy whipping cream to cool 3qt saucepan and whisk until combined, ensuring few/no clumps
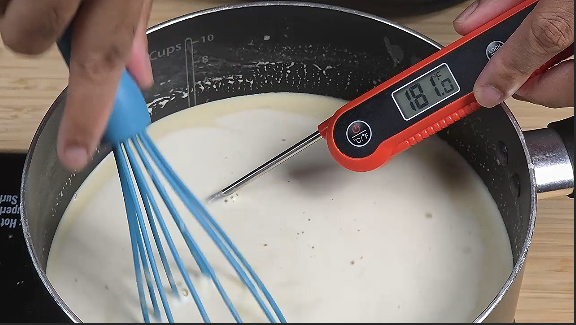
- Warm saucepan on medium heat and constantly stir gently until eggnog reaches temp between 180*F and 190*F. On electric stove, this should take approx. 10-15 minutes***.
- Once eggnog is done, immediately remove from heat and continue whisking gently for additional 2-3 minutes.
- Add vanilla bean paste to eggnog then whisk until combined
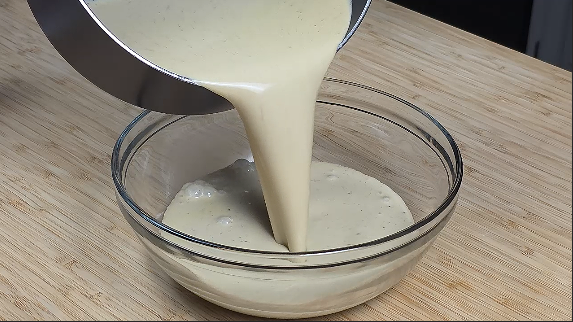
- Add Egnog to large bowl or mason jar
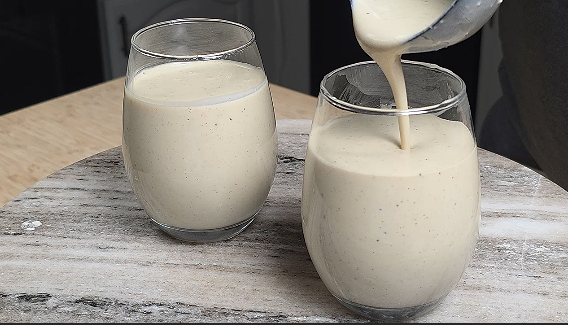
- Cover & chill in refrigerator for a minimum of 4 hours.