




While nothing will ever beats pudding that is made entirely from scratch, sometimes you have those days where you just want to eat something that you can prepare quickly without making a big mess in the kitchen. Many people will simply opt for buying pudding that’s already made or the Jell-O mixes, and while store-bought pudding is indeed convenient to make and consume, they’re also full of artificial dyes and artificial flavor enhancers. In this post, I’m going to show you how easy it is to make instant pudding mix in the comfort of your own home that is shelf-stable. And the best part about it is, unlike most so-called instant pudding mix recipes, this one requires *NO* cooking!!!

Troubleshooting Instant Pudding Mix
My pudding is runny
If it ends up that your pudding is too runny after combining the ingredients, there are a couple reasons why this might happen. One possibility is you accidentally didn’t use enough of the instant pudding mix or you added too much liquid to it. This can be avoided by either weighing your ingredients or using measuring cups to ensure you’re using the precise amount of ingredients (instead of measuring with your heart). Another possibility is you accidentally double dipped the spoon you used for taste testing back into the pudding. The problem is, your saliva contains enzymes that have a tendency to break down the compounds in the thickener that’s used, thus the pudding will struggle to maintain its structure.
My pudding is too thick
If it ends up that your pudding is too thick after combining the ingredients, there are a couple reasons why this might happen. One possibility is you accidentally used too much of the instant pudding mix. Another possibility is you accidentally double dipped the spoon you used for taste testing back into the pudding. This can be avoided by either weighing your ingredients or using measuring cups to ensure you’re using the precise amount of ingredients (instead of measuring with your heart). In the event you do this and your pudding still ends up too thick, what you can do is add an extra splash of milk a little bit at a time until the pudding reaches your desired consistency.
My vanilla pudding doesn’t look like Jell-O’s
The fact of the matter is while the pudding might taste similar, it won’t look exactly like the vanilla pudding that is sold in-store. The reason why is because the stuff that’s commercially sold at your local supermarket contains Yellow 5 and Yellow 6, which is what gives it that yellow hue that you see in the pictures or even in some Banana Pudding recipes. That being said, the best way to get pudding that looks as close to what you see in the grocery store is by adding a little bit of Turmeric. This is a natural ingredient with a neutral flavor in small quantities, so you won’t really taste it. But it will make the pudding look pretty.
Tips for Making this Recipe
Use a mixer or immersion blender for the best results. Perhaps the easiest way to mess up this recipe is not mixing the instant pudding mix with the liquid that you add briskly enough before it firms up. This is how you can end up with pudding that is lumpy because it gelantizes before you’re even finished binding all of the ingredients together. That being said, while you can certainly whisk the pudding mix and liquid together using a whisk by hand, I find you get the best results using a hand mixer or an immersion blender, as these appliances have enough speed and power to ensure the pudding it whipped up as smoothly as possible before getting too thick.
Cover the pudding once it is done. Why? Once you’re done making the pudding with the instant pudding mix and it rests while exposed to the air around it, a layer (which can also be described as a “membrane”) will form on top. By covering the pudding, that will limit the pudding’s expose to this air, thus prevent the layer of skin from forming on top. That being said, this step is completely optional. Me personally, I opt not to do this (especially because I often serve or consume the pudding immediately, versus say hours laters). I would just advise giving the pudding brisk whisk to break up the membrane and rehydrate the surface before you proceed with serving it.
Use a sieve to strain the pudding. While this extra step is optional, I strongly recommend (especially if you’re a beginner cook and have never made homemade chocolate or vanilla pudding before) straining your pudding through a sieve. This will be an additional safeguard to ensure you don’t have any lumps of instant pudding mix in your final product. If you do choose to do this, you’re going to want to strain the pudding ASAP after you’re done combining all of the ingredients as it will soft-set very rapidly, which will make it hard to strain after so long. As long as you’re using a spoon or spatula, you should be able to strain the pudding easily without issues.
Chill in refrigerator for at least 10 minutes before serving It’s very much an optional step for this instant pudding mix, and I often skip this step as well because technically the pudding does soft-set immediately and you can eat it as soon as you’re done combining all of the ingredients (plus, it will already be chilled to an extent as you’re using a cold liquid for this recipe and it’s no-cook). That being said, the pudding will continue to firm up even more and the texture will only get better with time as you allow it to rest in the refrigerator. At minimum, chilling in the refrigerator for at least 10 minutes will make for even better tasting pudding.
Frequently Asked Questions
Can I add toppings to this recipe?
The nice part about this pudding recipe is you can pair it with all sorts of toppings. I like to add a dollop of whipped cream with chocolate sprinkles on top of my chocolate pudding, in small part for added flavor but mostly for garnish / decoration. Shaved chocolate is another popular topping that people add, but you can also add fruit, graham cracker crumbs or even chopped nuts. It’s best to add these topping right before you’re ready to serve it. One warning with the whipped cream though is that the store-bought whipped cream tends to lack stabilizers, so it will wilt quickly if you don’t get around to eating the pudding fast.
Can I substitute the Sweet Ground Chocoloate for Unsweetened Cocoa Powder?
One thing to be mindful of is that Sweet Ground Chocolate is not just Cocoa Powder, but it is a blend that contains a wide variety of ingredients that gives the Chocolate Pudding its flavor, including salt, sugar and vanilla flavor. That being said, if you were to simply use Unsweetened Cocoa Powder, you would be omitting all of those items from the recipe, which will negatively affect the taste/texture of the final product (unless you add them separately). That being said, I don’t recommend it for this instant pudding mix recipe.
Can I substitute the Sweet Ground Chocolate for Sweet Ground Dark Chocolate?
Absolutely! The main difference you’ll see in this recipe for instant pudding mix is that the chocolate flavor will be much more intense, which is never a bad thing with chocolate pudding!
Can I substitute the Vanilla Powder for Vanilla Bean Powder?
While you certainly can (and the conversion ratio will be 1:1), just be mindful that it might change the appearance and texture of the pudding somewhat as vanilla bean powder tends to be darker in color and there might be specks of vanilla bean in your instant pudding mix as well as your pudding once it’s finished.
Can I substitute the Instant Clear Jel for Cornstarch?
Absolutely not! The cornstarch that youu will find in the baking aisles of your neighborhood supermarket (labeled as brands such as Argo) are raw, thus by itself it will not thicken the instant pudding mix the same as the Instant Clear Jel as it must be cooked & activated by heat first.
Can I substitute the Powdered Sugar for Granulated Sugar?
I don’t recommend it for this instant pudding mix. First and foremost, you’re not going to use an equal amount of granulated sugar to replace the powdered sugar (you only need 1 cup of sugar to replace the amount of powdered sugar in this recipe). But also, I find that granulated sugar tends to give the pudding more of a gritty/grainy texture because the sugar crystals don’t dissolve nearly as well, versus the powdered sugar which is easily incorporated into the pudding and even gives it an airy texture.
How long can I store the prepared instant pudding mix in the refrigerator?
As long as the pudding is covered after prepared with the instant pudding mix, it should be safe to eat for at least 3 days. After 3 days, it may begin to lose their flavor & texture. Once 5 days have passed, I would advise that you dispose of the pudding as it may no longer be safe to eat.
Can I freeze this pudding?
I don’t recommend it. While it is possible to freeze this instant pudding mix once prepared, its texture will become much more unappetizing as the ingredients will tend to separate and it will become watery as the pudding thaws. It’s best just to chill it in the refrigerator if you want to keep it cold, and to prepare it fresh.
Try These Other Pudding Recipes
-
Best Chocolate Pudding From Scratch
-
Best Vanilla Pudding From Scratch
-
Best Banana Pudding From Scratch
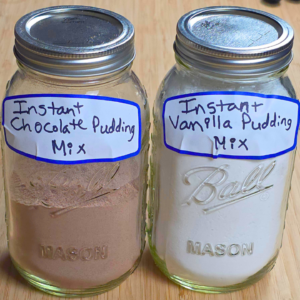
Easy No-Cook Instant Pudding Mix Recipe
Equipment
- 1 Whisk
- Measuring Cups/Spoons
- 1 Large Mixing Bowl
- 1 32oz Mason Jar w/ Lid (optional)
- 1 Canning Funnel (optional)
- Hand Mixer or Immersion Blender (optional)
- Plastic Wrap (optional)
Ingredients
Instant Chocolate Pudding Mix (No-Cook)
- 1 Cup Sweet Ground Chocolate
- 1 Cup Instant Clear Jel
- 1 Cup Nonfat Dry Milk
Instant Vanilla Pudding Mix (No-Cook)
- 1 3/4 Cup Powdered Sugar
- 1 Cup Instant Clear Jel
- 3/4 Cup Nonfat Dry Milk
- 1/2 TBSP Vanilla Powder
To Make Chocolate Pudding
- 1 1/4 Cup Whole Milk (cold)
- 1/2 Cup Pudding Mix
To Make Vanilla Pudding
- 1 Cup Whole Milk (cold)
- 1/2 Cup Pudding Mix
Instructions
To Make Instant Chocolate Pudding Mix (No-Cook)
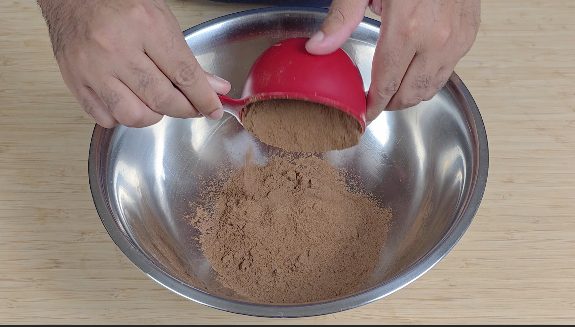
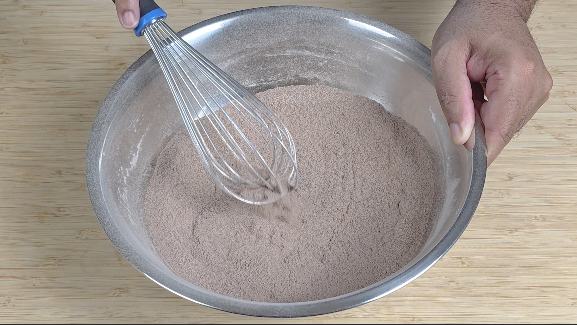
- To a large mixing bowl, add sweet ground chocolate, dry milk and instant clear jel then whisk until well-combined (approx. 30 seconds).
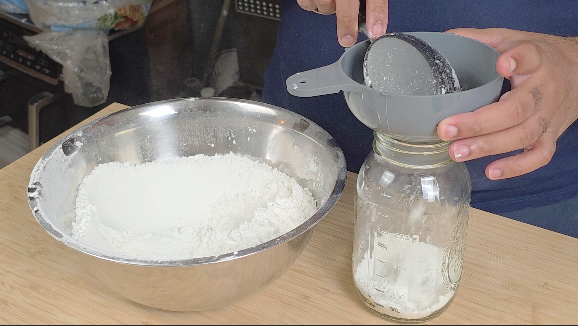
- Transfer pudding mix to mason jar (or other airtight container), seal container, and store in a dry place at room temperature. Mix should maintain freshness for at least 6 months.
To Make Instant Vanilla Pudding Mix (No-Cook)
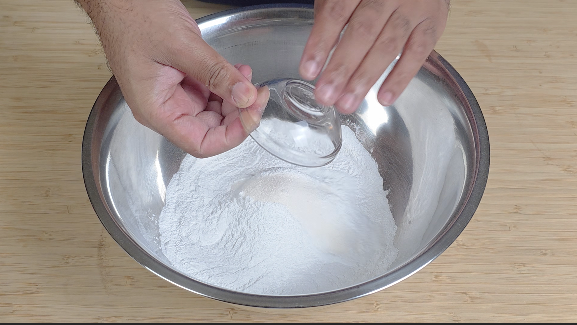
- To a large mixing bowl, add powdered sugar, dry milk, instant clear jel and vanilla powder, then whisk until well-combined (approx. 30 seconds).
- Transfer pudding mix to mason jar (or other airtight container), seal container, and store in a dry place at room temperature. Mix should maintain freshness for at least 6 months.
To Make Chocolate Pudding
- Add 1 and 1/4 cup of cold whole milk to small mixing bowl, then add 1/2 cup of pudding mix to milk.
- Briskly whisk milk and pudding mix together until it achieves smooth & creamy texture (approx. 2 minutes). Pudding will thicken immediately.
To Make Vanilla Pudding
- Add 1 and 1/4 cup of cold whole milk to small mixing bowl, then add 1/2 cup of pudding mix to milk.
- Briskly whisk milk and pudding mix together until it achieves smooth & creamy texture (approx. 2 minutes). Pudding will thicken immediately.
2 Comments
Can this pudding mix be used to make a pie?
Hi Jody,
Thank you for the question! And yes, this recipe can be used for no-bake pies. You may have to double or triple the ingredients though to make enough pudding to fill the pie crust.